Make Your Own Social Media Marketing App Like Hootsuite with Appsmith and n8n

Table of contents
Why build a social media marketing tool?
For a content management team in any organization, things can get chaotic between ideating, strategizing, content creation, and distribution. Looking after multiple social media platforms can be overwhelming; this is where social media schedulers come in handy. However, for an early-stage organization, subscribing to these tools can be an expensive affair, and they do not solve the organization’s specific requirements. For example, at Appsmith, we focus our distribution through Twitter, Discord, Slack, and Linkedin, and we wanted a customizable solution more suited to our needs. Our cross-platform scheduler can send a message across four channels with just one click, and we made this using Appsmith and automated the workflow with n8n.
And building this is not that difficult!
This blog will take you through the different steps involved in building a workflow like this. You can extend this and customize it further to address specific requirements.
Building a social media marketing tool with Appsmith and n8n
Getting started with Appsmith
In this tutorial, we’ll be using the local environment of Appsmith to build the application. However, we can always export and then import Appsmith apps to different environments (cloud, self-hosted, local).
“”The recommended way to use Appsmith locally is to use Docker; for detailed instructions, follow the documentation here.
Next, create a new account or sign in with an existing account and redirect it to our dashboard. Now, let’s create a new application and build a minimalistic UI for our social broadcaster by following the steps listed below:
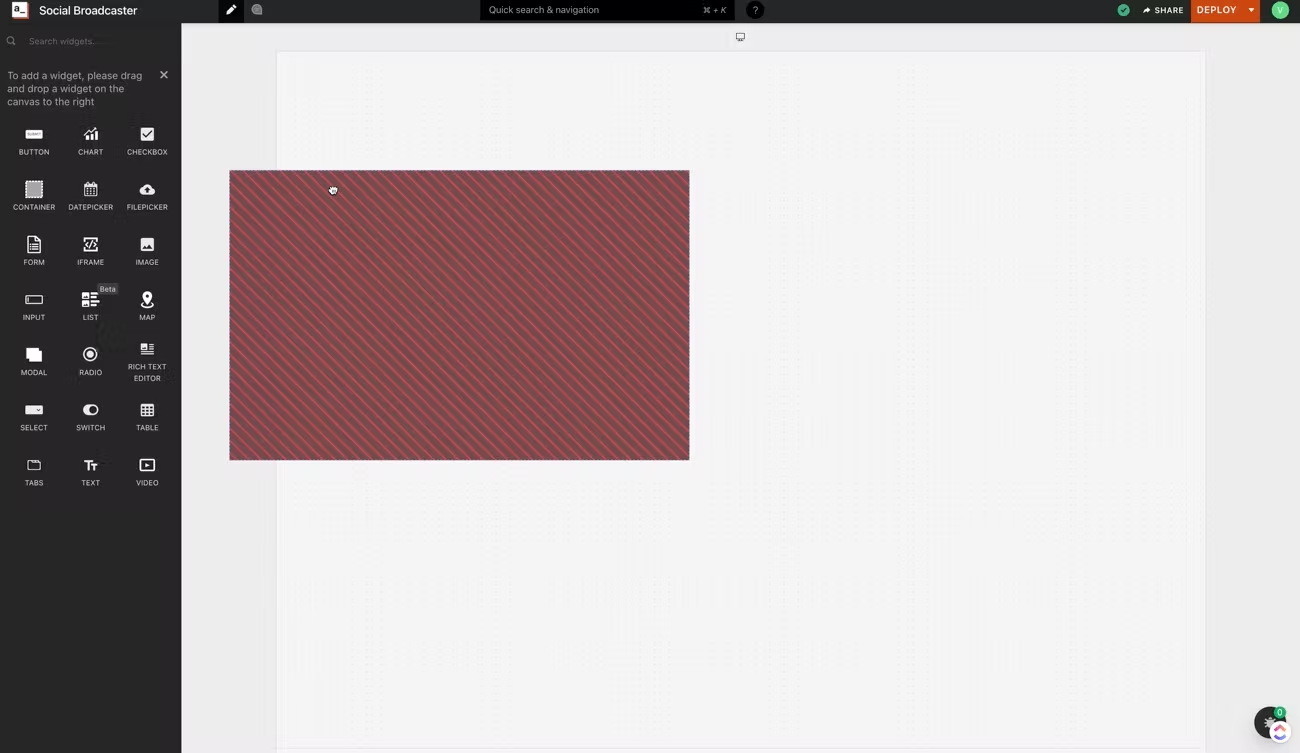
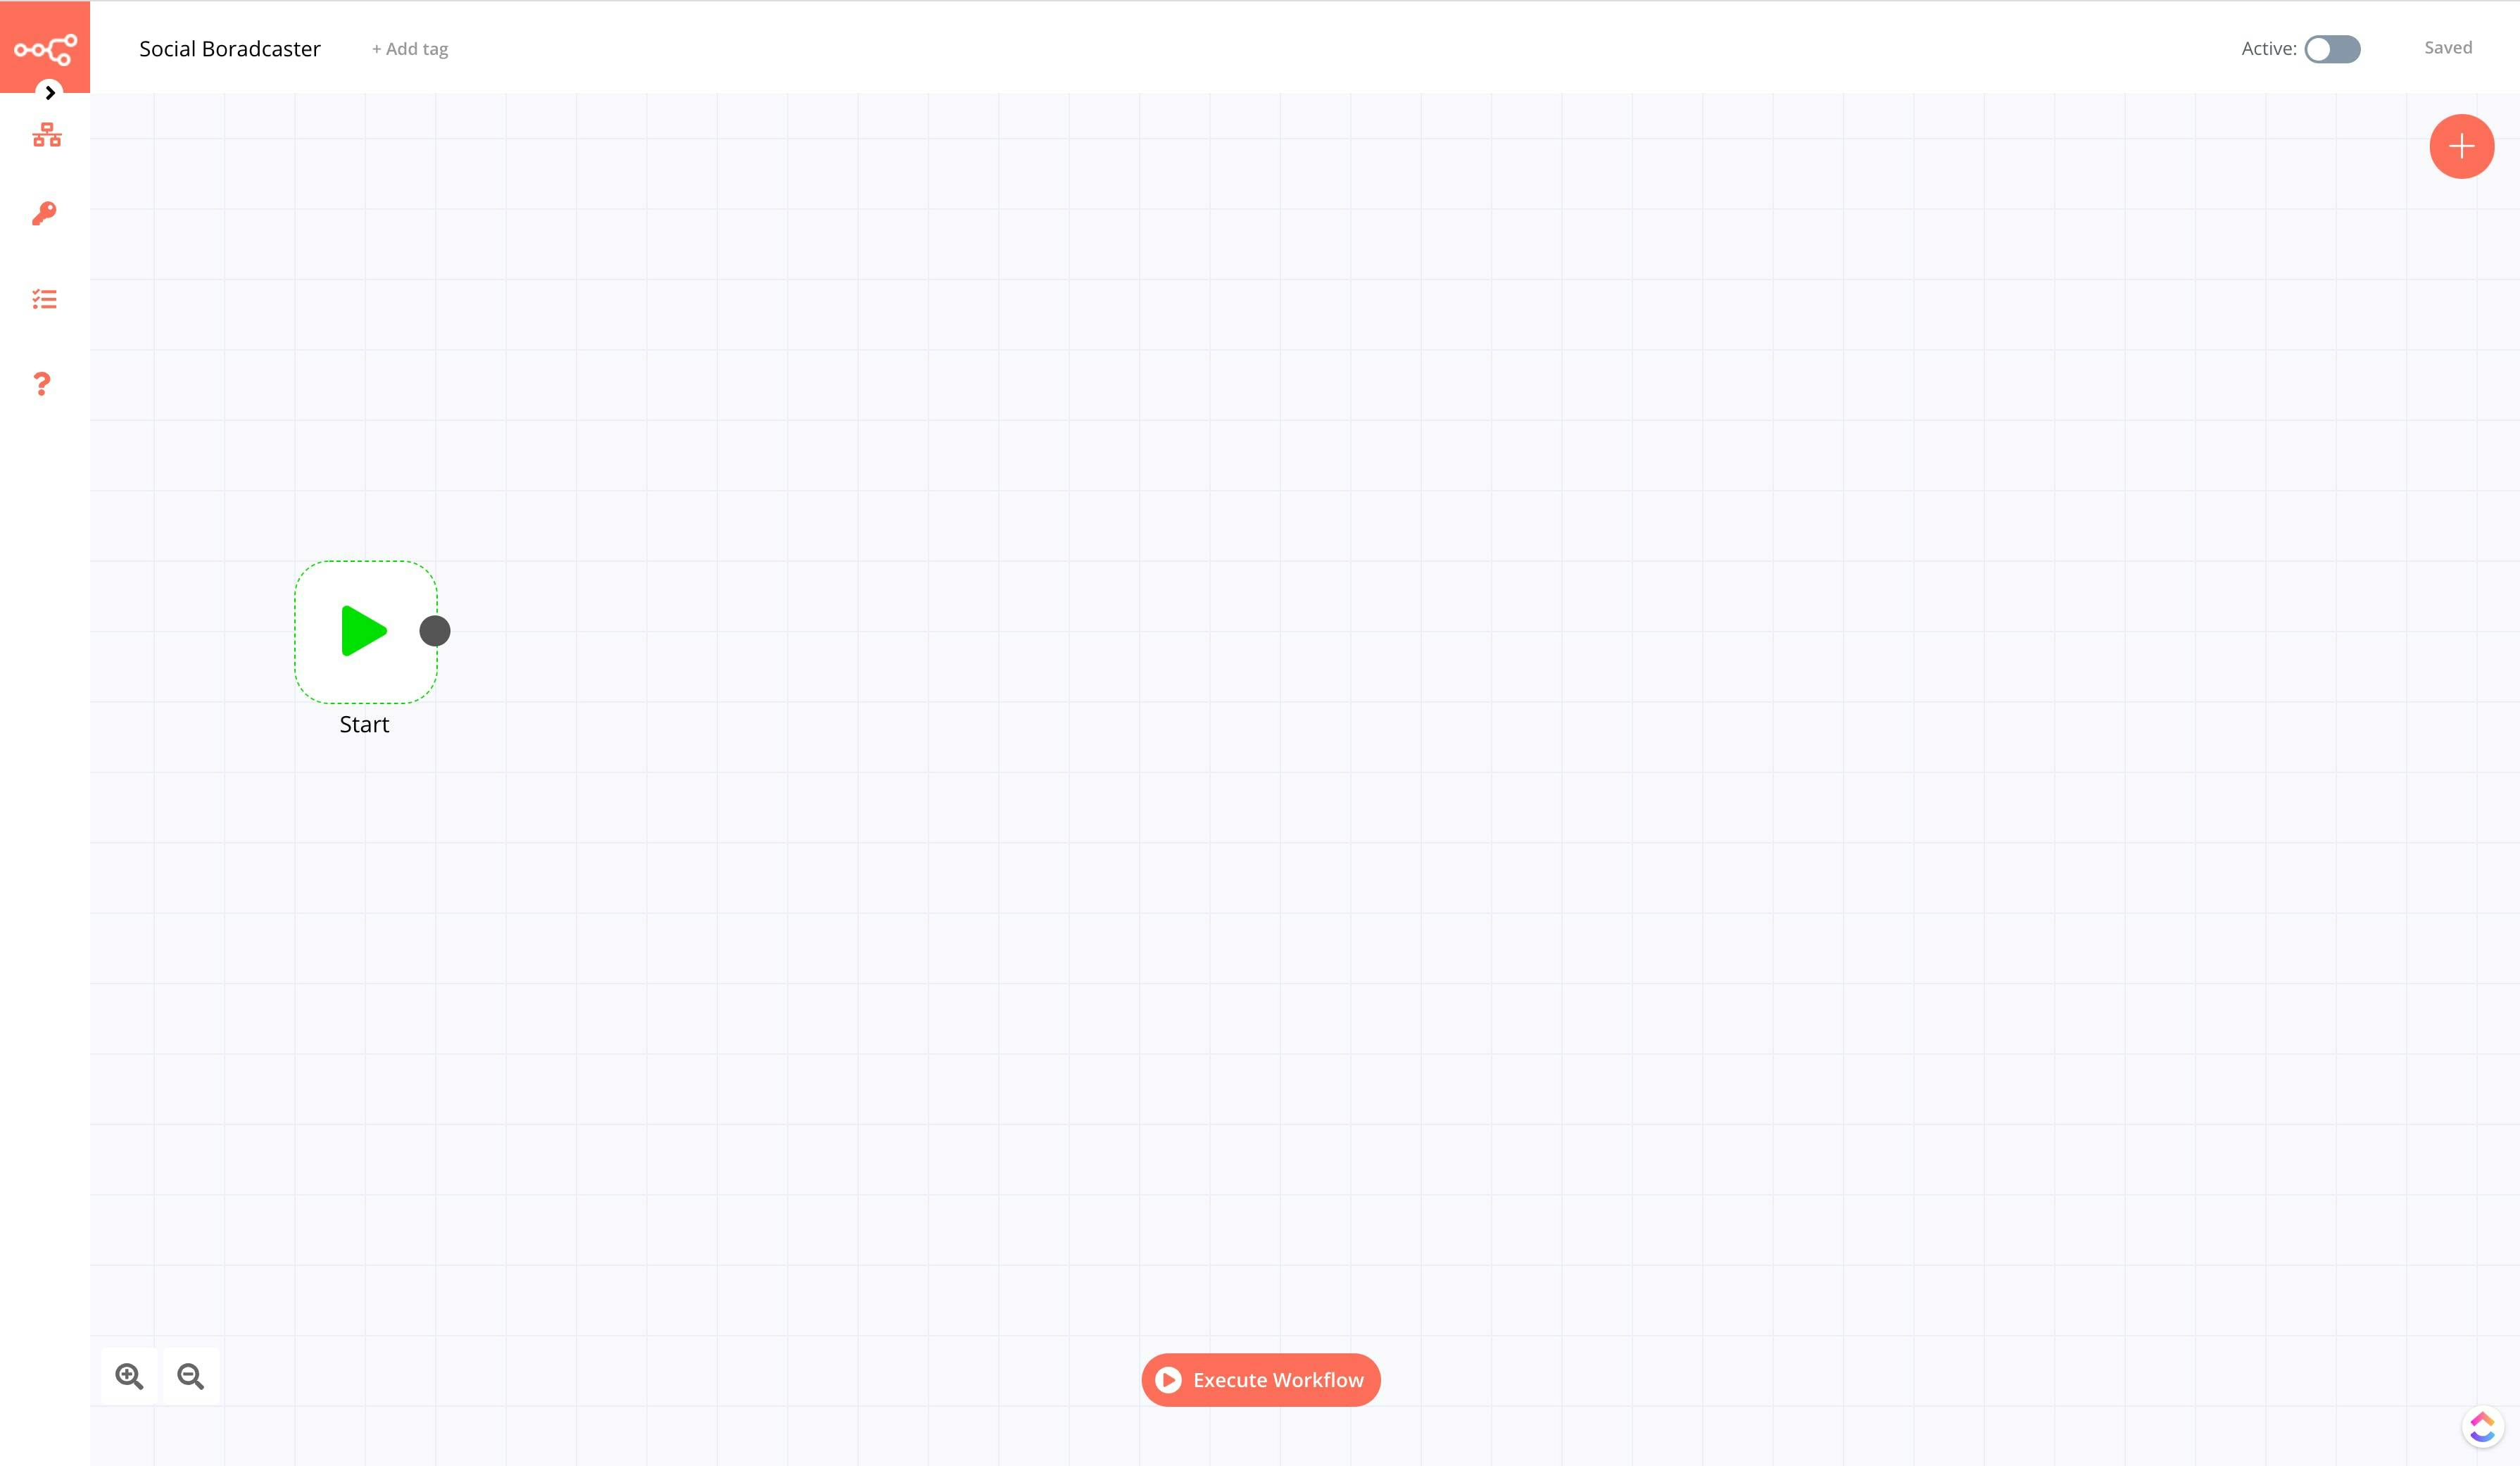
Click on Create New under your organization, and this will create a new Appsmith application.
Rename the application to Social Broadcaster by simply double-clicking on the existing one.
On the left, find the entity explorer; this is where we can manage all our widgets and data sources of the entire application.
Awesome! We will build a simple UI with Appsmith widgets to broadcast messages onto different social platforms in the next section.
Building a simple UI
Appsmith has a great set of widget (UI Components) collections for us to build internal applications. We'll be using a few of these widgets to create a form that enables us to write messages and select options to broadcast to social platforms of choice.
Click on the + icon next to the Widgets menu on the entity explorer. Find the drag the Container widget and drag and drop it onto the canvas.
Resize this container widget based on our UI preferences. Next, find the Text widget and drop it inside the Container widget.
Next, open the property pane of the Text widget when selected by clicking on the cog icon on top-right, next to its name. Now, update the label property to Create Post.
To write the post content, let’s use a Rich Text Editor Widget. Drag and drop it inside the Container Widget.
Let’s add some Switch widgets, which will let us control what to post on social platforms. Set the labels to Discord, Slack, Twitter, and Linkedin from the property pane.
Lastly, add a Button widget; when clicked, content gets posted from the RTE to platforms marked in the switches.
We now have the basic UI for our broadcaster. Now, let’s create an n8n workflow and integrate it with Appsmith!
Building the n8n workflow
In this tutorial, we will be setting up n8n in our local environment using npm (node package manager). Here’s the command to install n8n globally on your machine:
npm install n8n -g“”n8n helps you create powerful workflows by syncing data across 200+ apps. No coding is required.
Post-installation, type in n8n on your terminal or command prompt; it will open n8n editor on [http://localhost:5678/](http://localhost:5678/). Here we can create workflows and save them on local env. However, you can always import-export n8n apps in different environments.
Here’s a screenshot of the n8n editor:
Now, let’s create a workflow to broadcast messages onto different social platforms. Follow these steps:
Create a webhook trigger on n8n; for this, click on the + icon and search for Webhook under the Trigger sections. This will open up a new modal where we can configure the properties of the Webhook.
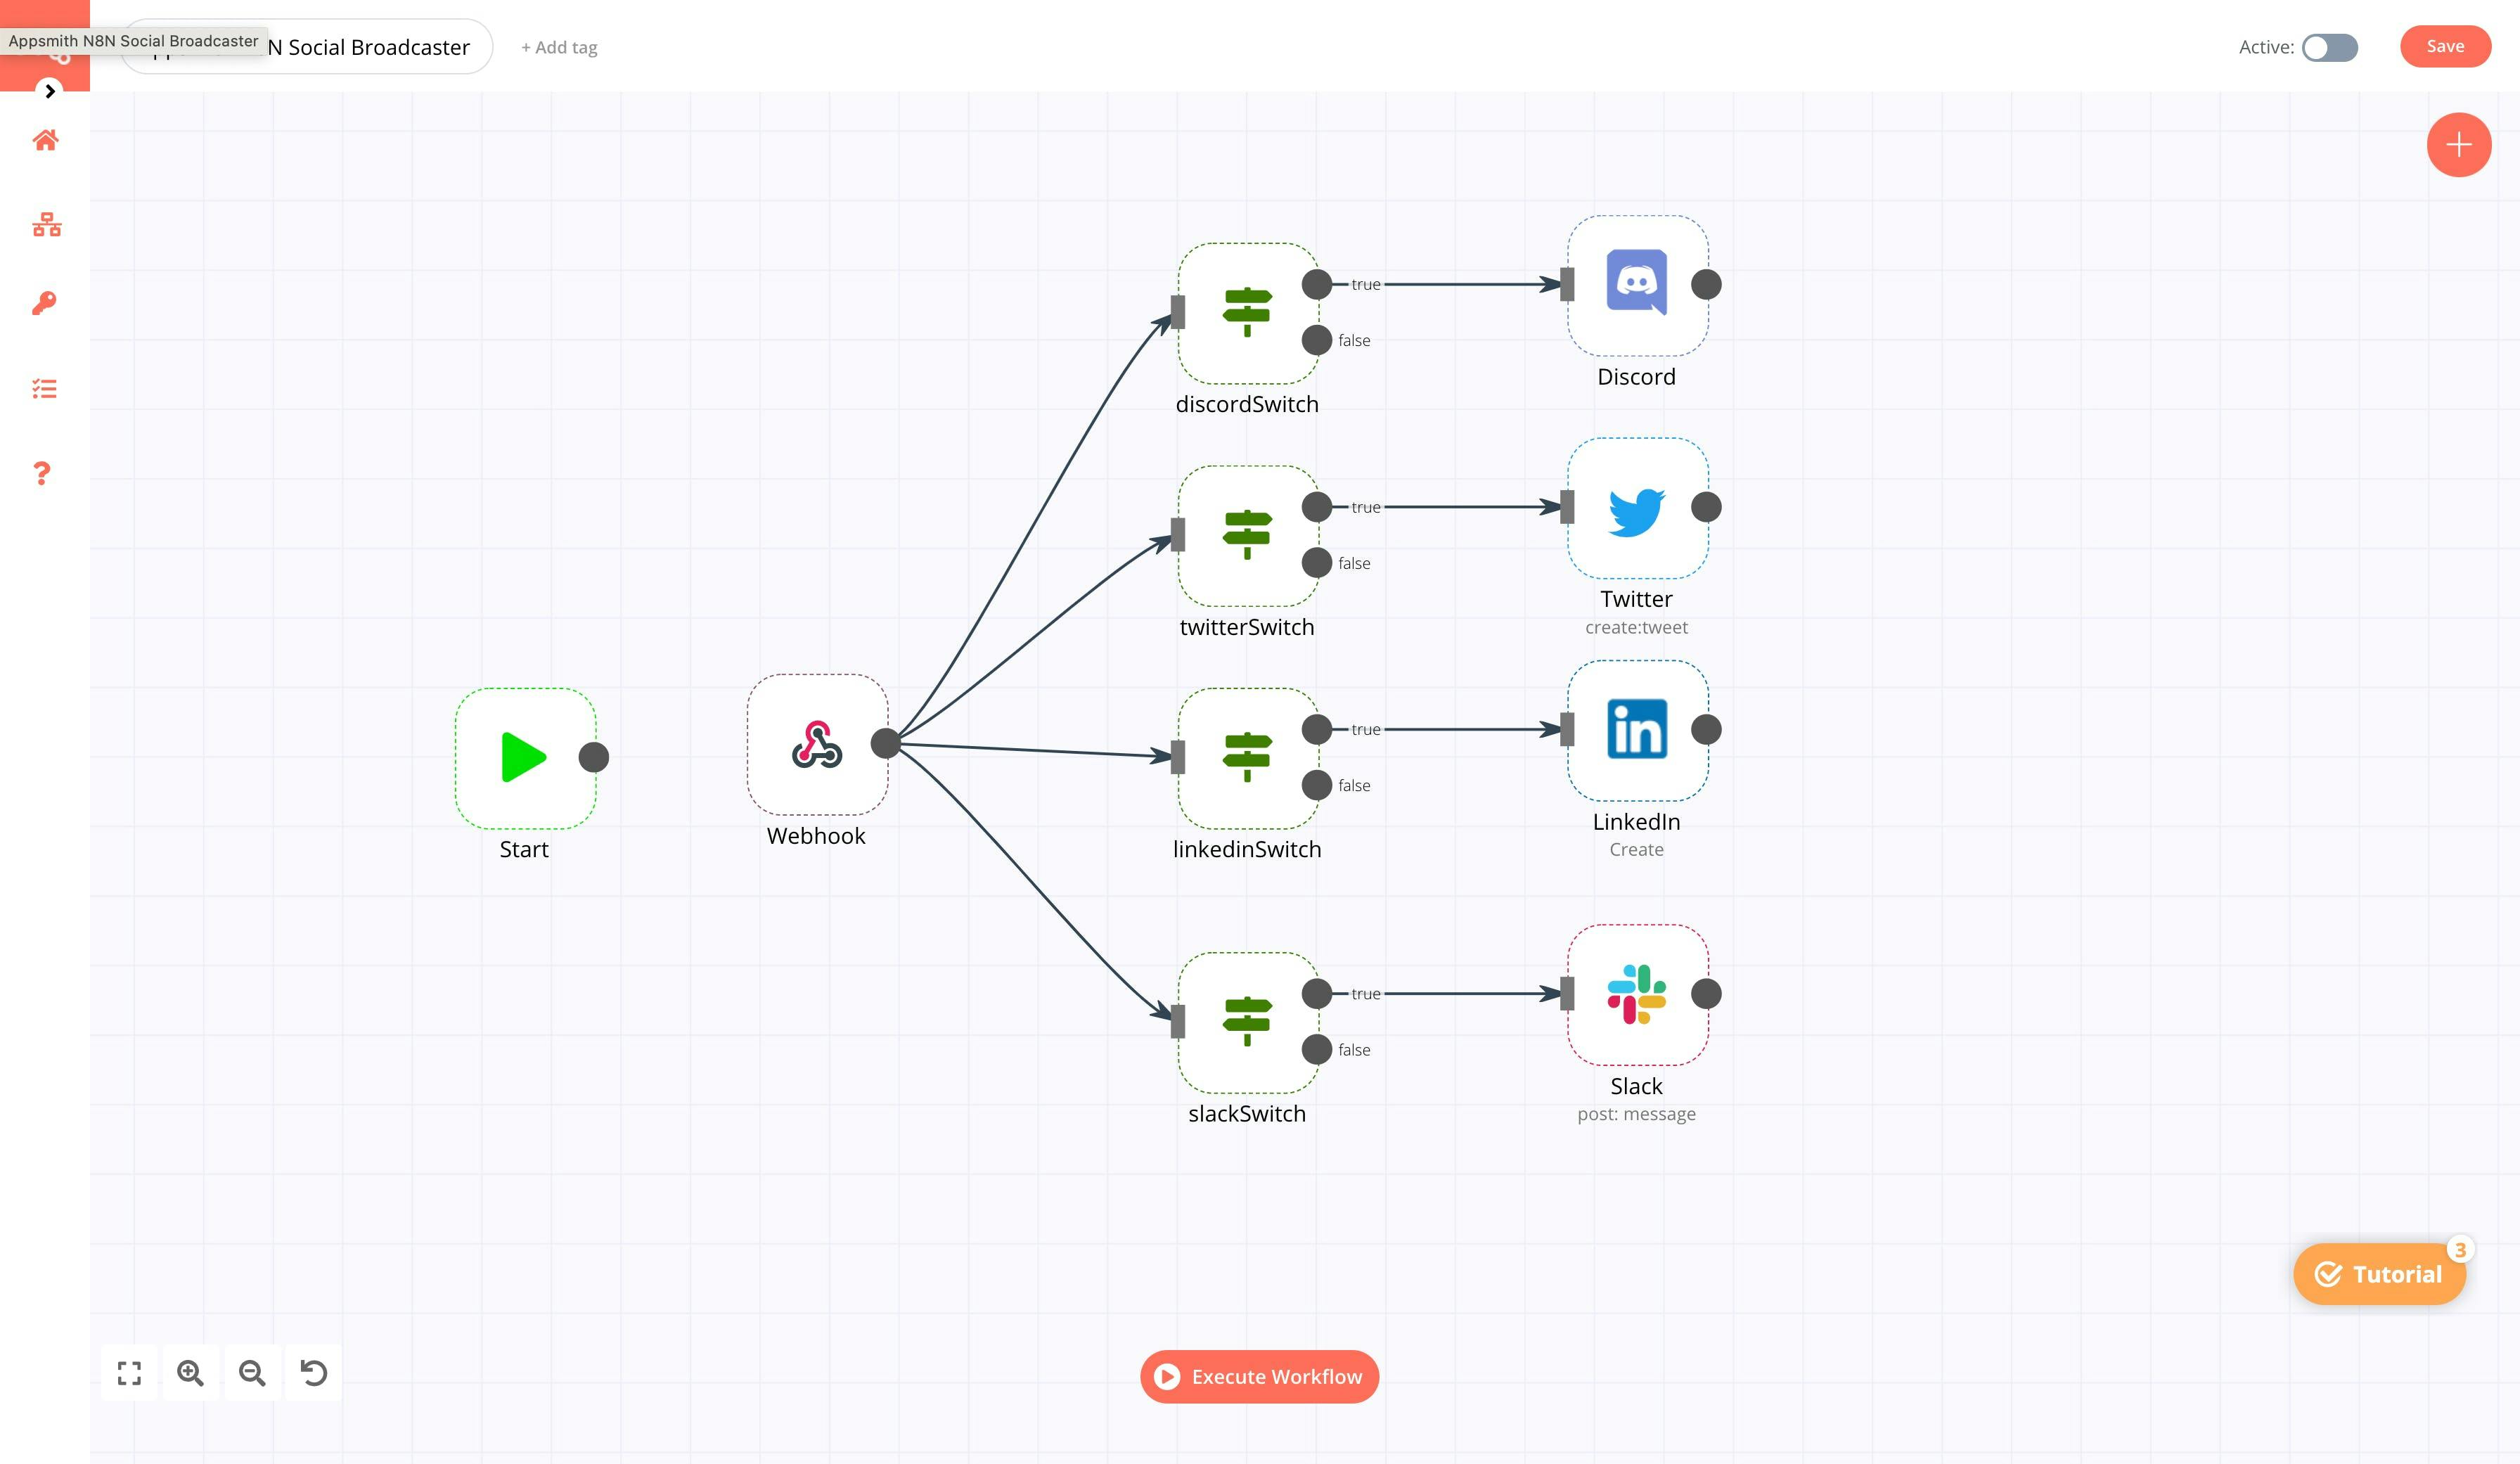
Next, find an if node under the Regular section and connect it with the Webhook. We’ll have four if nodes to which we’ll connect all the other integrations.
Lastly, find the Discord, Slack, Twitter, and Linkedin integrations and connect them with these if-nodes.
Following is a screenshot of how the workflow looks like:
We now have a clear picture of how our workflow looks like; let’s pass the data into n8n from Appsmith using the webhook.
Setting up webhooks
Appsmith and n8n will be communicating through a webhook. A webhook (also called a web callback or HTTP push API) is a way for an app to provide other applications with real-time information. A webhook delivers data to other applications as it happens, meaning you get data immediately. Follow the below steps to configure this:
Double click on the Webhook node on the n8n editor; this will open up a modal with all the webhook properties.
Click on Webhook URLs and copy the Test URL.
http://localhost:5678/webhook-test/006d957e-0a8d-467e-9b01-178771e0d275“”Update the TEST URL from your n8n environment.
Since we’re using the local version, we’ll be replacing localhost with the connect IP:
http://192.168.0.115:5678/webhook-test/006d957e-0a8d-467e-9b01-178771e0d275Now, on Appsmith, select the Datasource option on the entity explorer and click Create New under the APIs section.
Change the request method to POST and paste the webhook URL. Next, under the body property, paste the following code snippet:
{
    "content": {{RichTextEditor1.text}},
    "medium": {{
    function(){
    let str = ""if (slackSwitch.isSwitchedOn==true){
        str +="slack "
    }
    if (discordSwitch.isSwitchedOn==true){
        str +="discord "
    }
    if (TwitterSwitch.isSwitchedOn==true){
        str +="twitter "
    }
    if (linkedinSwitch.isSwitchedOn==true){
        str +="linkedin "
    }
        return str
    }()
    }}
}
Here, we’re sending all the required information from Appsmith to n8n using webhook through the request body.
“”The {{ }} moustache operator in Appsmith helps write JS anywhere and access widget properties.
Lastly, on n8n, click Execute Workflow and on Appsmith, hit RUN on the API.
“”If the nodes are throwing any errors, you can click on the pause icon on top of them to ignore them from execution.
Awesome, this should send the data to the webhook. Let’s add validations to the workflow with the data sent from Appsmith.
Appsmith and n8n Workflow Configurations
Now, add the necessary API keys to the social nodes. If you’re using the n8n.cloud account, you can directly authorize each application by logging into your social media account.
After authorization, we’ll need to configure the if-nodes; here, we’ll add the expression from the Webhook, and based on the condition, we’ll be accessing the social nodes. For this, let’s use the contains operation on every node.
The value1 is set to {{$node["Webhook"].json["body"]["medium"]}}
The value2 is set to discord, linkedin, twitter, slack based on the condition from the node.
Lastly, we’ll need to execute the workflow and use Appsmith UI to cross-post content across selected social apps.
Conclusion
In this tutorial, we learnt how to automate content across social media by using Appsmith and n8n. In short, we used Appsmith to build UI and n8n to create automated workflows. With this combination, you could make scores of other similar internal applications that can connect to multiple services and data sources. For example, you could quickly build a CRM that can integrate with numerous email services, or you could automate code reviews and CI/CD pipelines. We hope you found this tutorial helpful! Let us know if you made an app using Appsmith, and we would love to feature you. Join the community! Come chat with us on Discord, or jump in on Github directly!
Related Blog Posts